Step 1: Locate the positive terminal of the battery and remove it.
Step 2: Remove the headlight's and the splash shield from the vehicle. This will allow ease access later for installation of the relay block and clean routing of the provided wiring.
Step 3: Locate the fuse box positive battery cable and remove it as shown below.
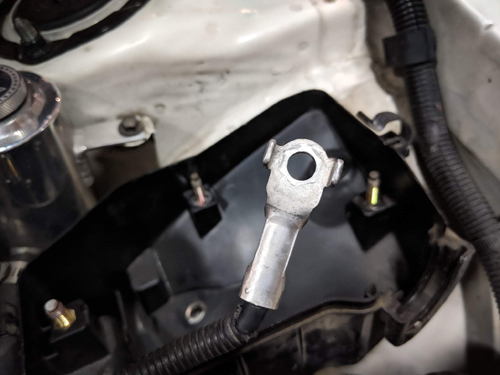
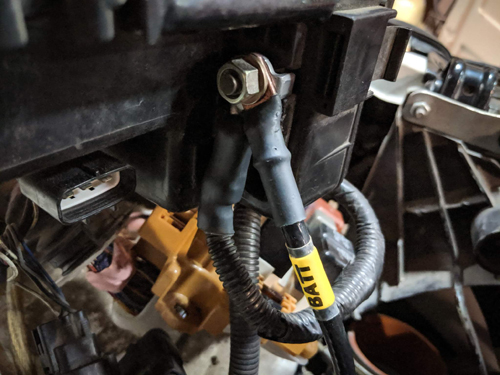
Step 4: Attach the 8 gauge wire labeled battery to this location on the bottom side of the fuse box. The other side of this wire will be installed later. Leave this cable loose for ease of adjustment later
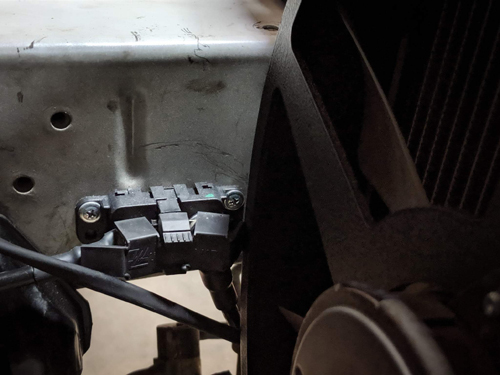
Step 5: Using the provided self-tapping screws find a mounting point for the fuse block. We used the frame rail nearest the fuse box and fan itself as shown below. This position may not work in every vehicle.
Step 6: Next you can mount the relay. For this we recommend under the drivers headlight frame rail area. There is a factory stud you can use for one side of the relay box, using a self tapping screw to secure the other side. Keep in mind the wiring for the power cable and the fans must be able to reach this.
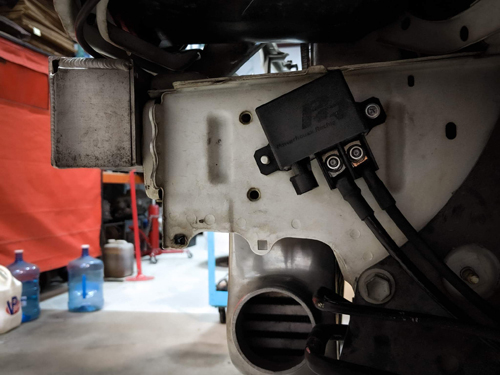
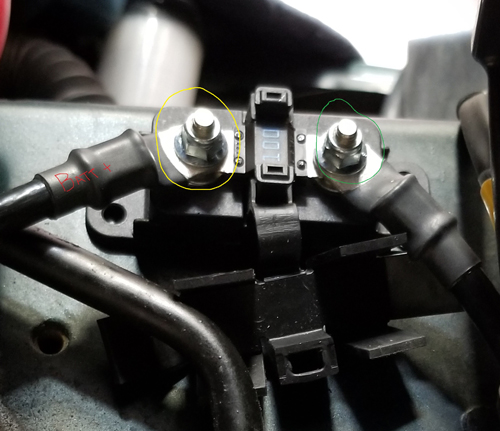
Step 7: Now you can attach the wiring to the fuse block and the relay. Attach the 8 gauge cable from the fuse box to the block on the frame rail. Shown circled in yellow below. The circled green 8 gauge cable will go to the relay.
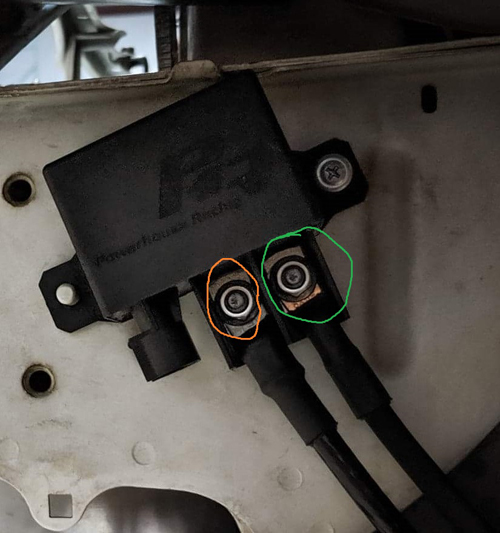
The orange circle is the connector for the fan harness.
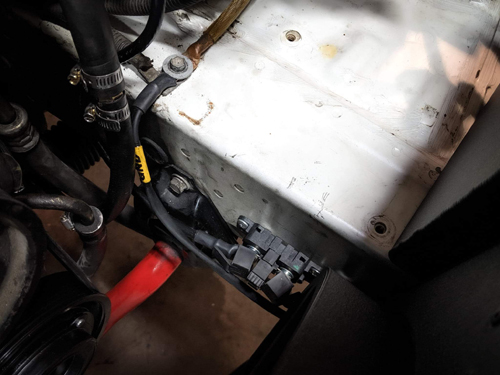
Step 8: You can now ground the harness to the chassis, we used an existing ground on the vehicle shown below and it may differ for your particular vehicle.
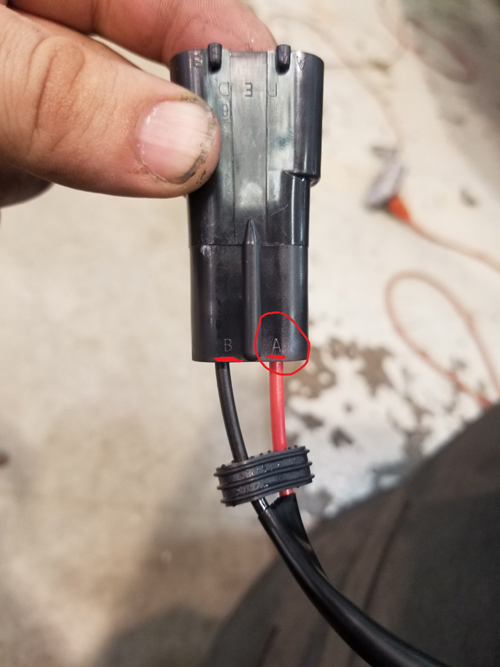
Step 9: Next you will need to install the fan shroud to the radiator, before doing so you must change the connector using the supplied parts. Cut the old connector off and expose the remaining wires with wire strippers. Put the rubber insert on the wires, re-pin them. The positive(red) must go on the "A" side of the connector and the ground(black) on the "B" side as shown below. Once you have done this push the retaining clip into the connector and then the rubber insert over it.
Install the fan shroud to the radiator. You can now connect the fans to the harness and secure all the bolts and mounting screws.
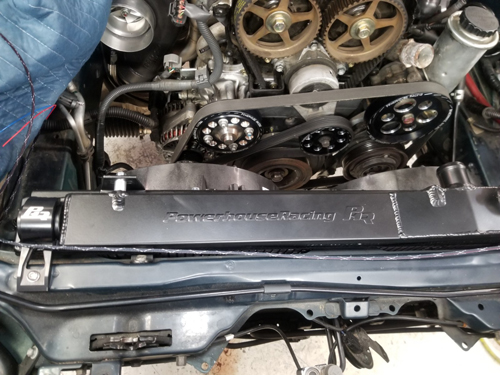
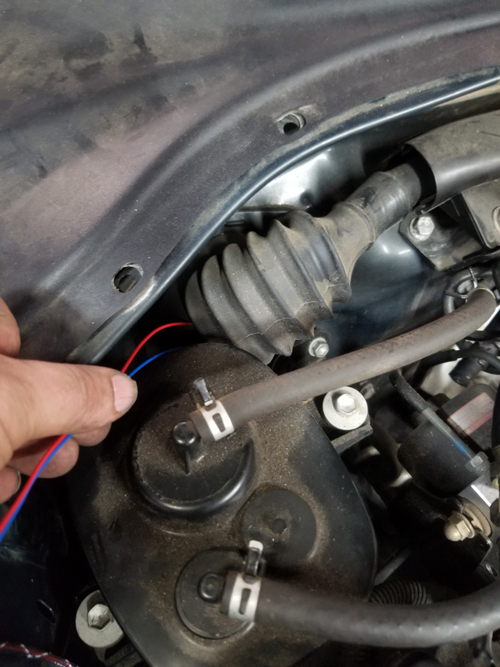
Step 10: You can now take the red and blue wire harness and feed it into the cabin.
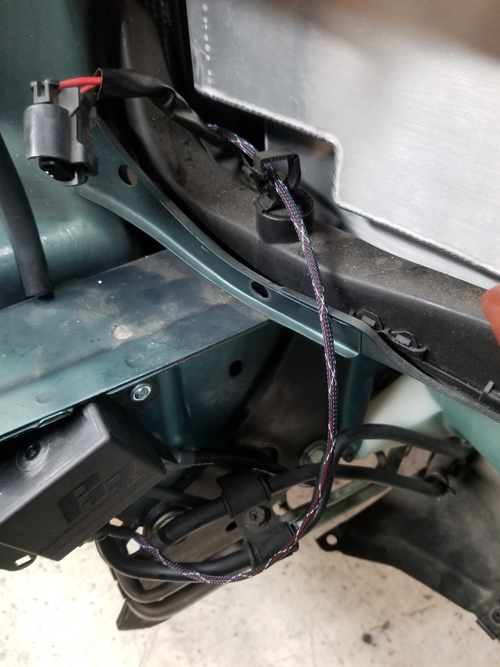
Here I ran the wire behind the headlight and between the radiator and a/c condenser. You can use small zip ties to secure the wire once you have the route chosen.
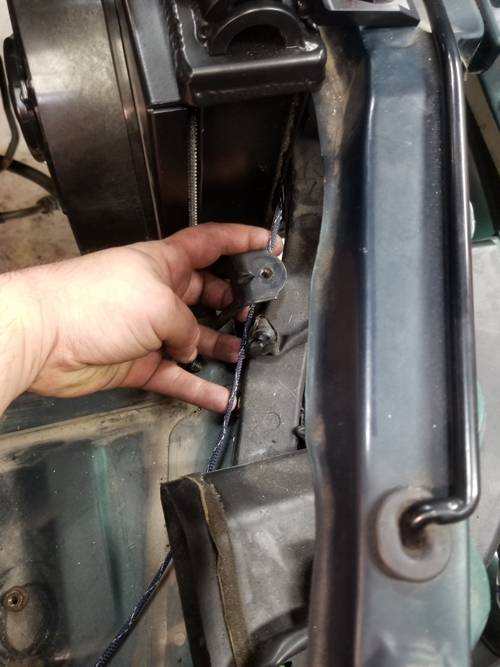
I chose to use the factory harness clips to secure the wiring in the bay here.
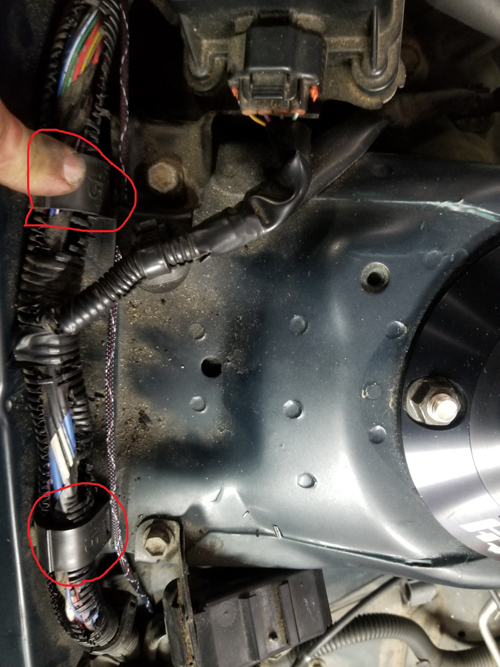
Feed the 2 wires into the cabin as shown below.
Below is how you can utilize these wires to activate the fans.
Red: 12V Sitched. This can be wired in at PIN A31 on the ECU Connector. Blue: Turn on, this should be wired to a low-side output (ground) from your ECU to activate the fans and turn them on.
Step 11: Reconnect the positive battery terminal.
Now you can test the system, activate the fans and ensure proper operation. Make sure the fans have good connection and power going to them.
Once you have confirmed proper operation you can re-install the headlights and splash shields
Installation is now complete!