These instructions are for the PHR IS300 ABS Relocation Kit:
https://www.powerhouseracing.com/shop/phr-03090304-is300-abs-relocation-kit-14265
Included with Kit:
- ABS Unit Relocation Bracket
- Line Kit: (6 Lines)
A-RR 90-0
B-RL 90-0
C-FL 90-0
D-FR 90-0
E-MF 90-90
F-MR 0-0
- Line Seperators
- 4ft of 3/8" Lines for Reservoir to ABS Unit
- Heat Shielding
- Wire Loom
Installation Note: This kit requires a battery relocation, or swapping to a small frame battery
Step 1: Disconnect power leads from vehicle and being to remove all hard lines line from front of car. It makes sense to start at master cylinder soft line and drain as much fluid from reservoir as possible. Once are hardlines are disconnected you can remove abs unit. Take care to not get brake fluid on your paint.
Step 2: You can install the bracket included with the kit. This tightens down with three M6 Bolts.
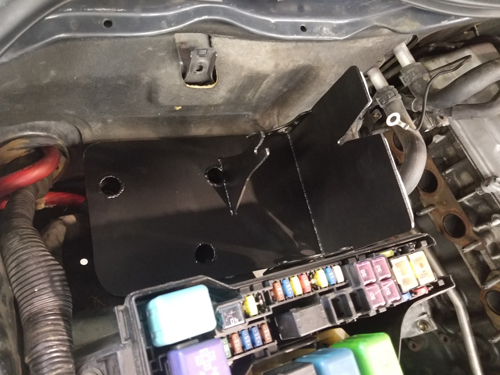
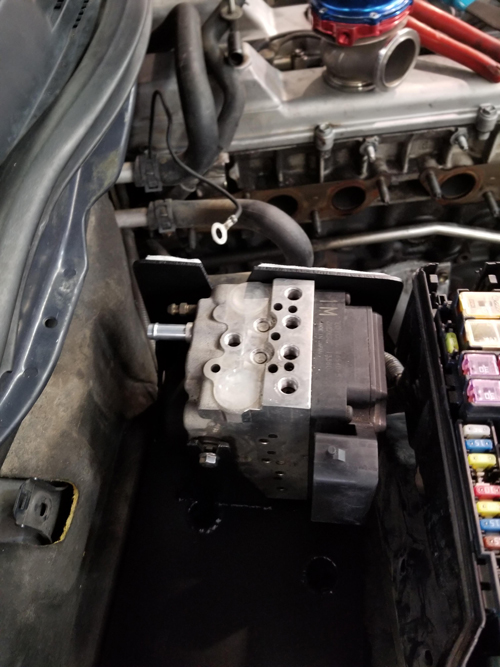
Step 3: With all lines removed from the car you can now reposition the abs unit. OEM bracketry with need to be removed from ABS unit. You can then install into PHR provided bracket. Tighten in place.
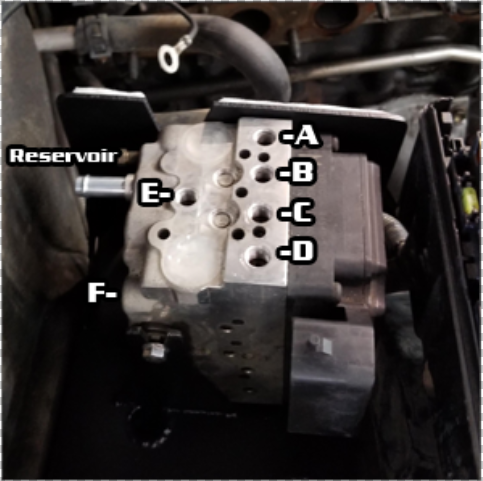
Step 4: Begin to install the provide lines with the kit. Go one by one, make the connection and tightening down fittings on both ends. You want a clean routing. Use this helpful port diagram and follow the labels on our lines. This should make install very straight forward. We have provided line holders to keep lines separated and uniform.
A - Rear Right (RR)
B - Rear Left (RL)
C - Front Left (FL)
D - Front Right (FR)
E - Master Front (MF)
F - Master Rear (MR)
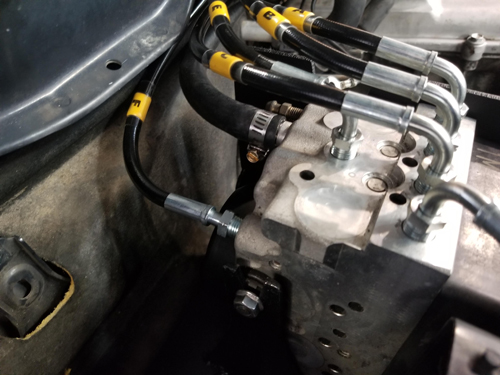
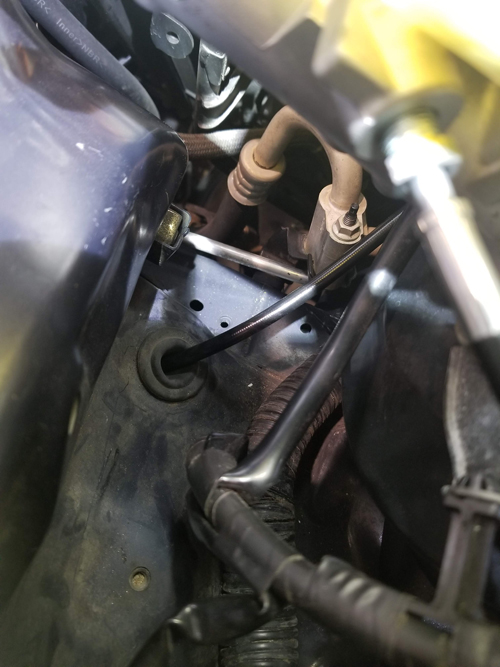
Lines to brake calipers should go through stock Grommet Location, attach to stock caliper soft lines at bracket in wheel well.
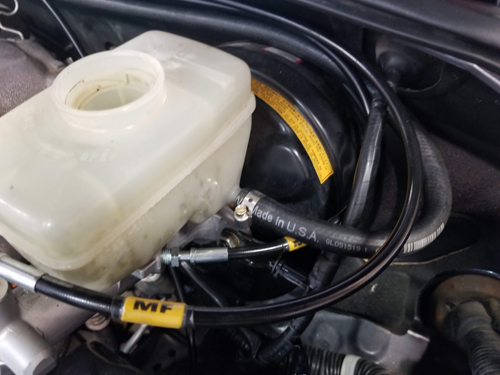
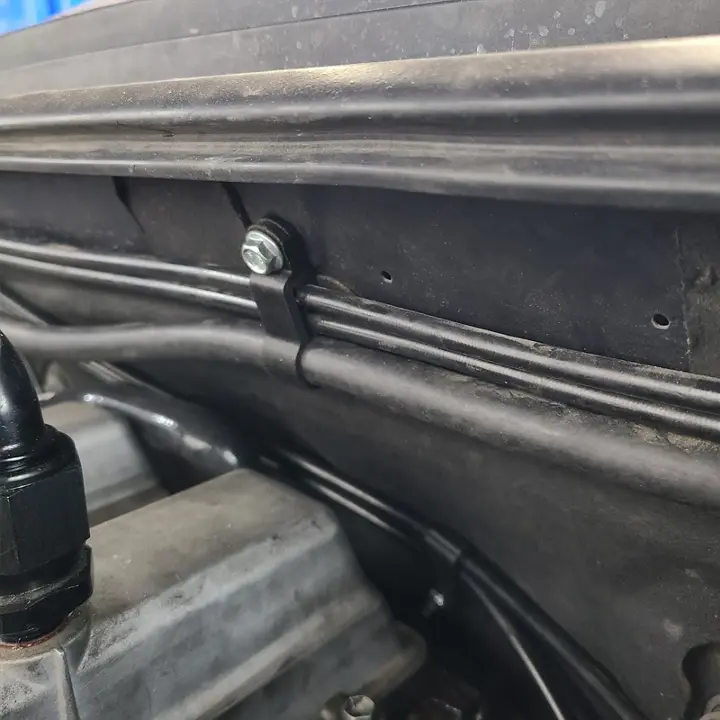
Step 5: Run provided reservoir feed line along the firewall, tighten with worm gear clamps
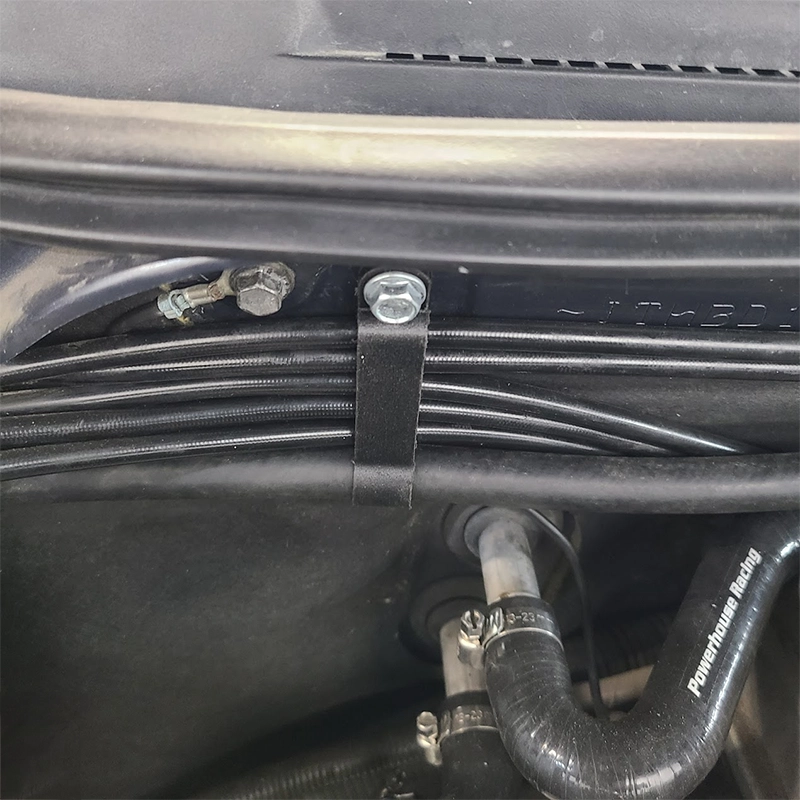
Step 6: Now you can use the line holders to organize the lines neatly and secure them to the firewall using the existing bolt holes.
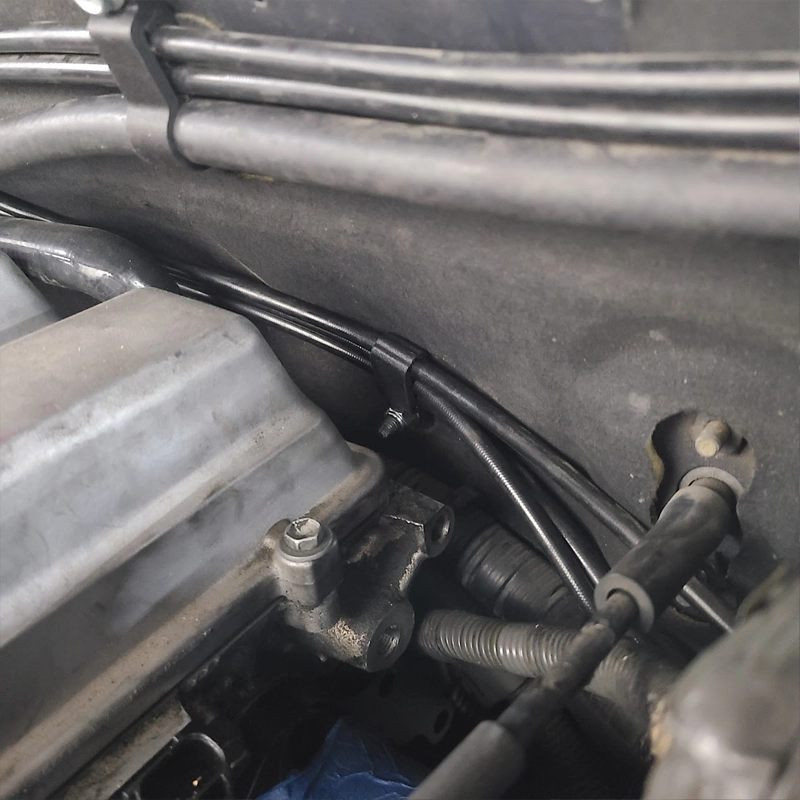
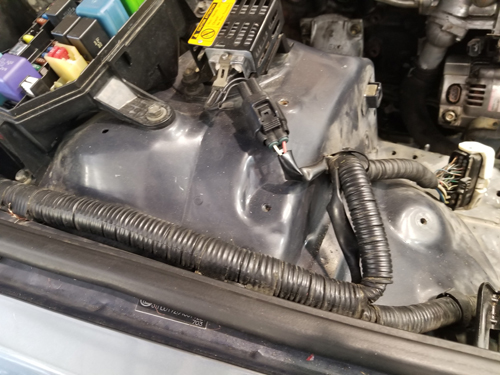
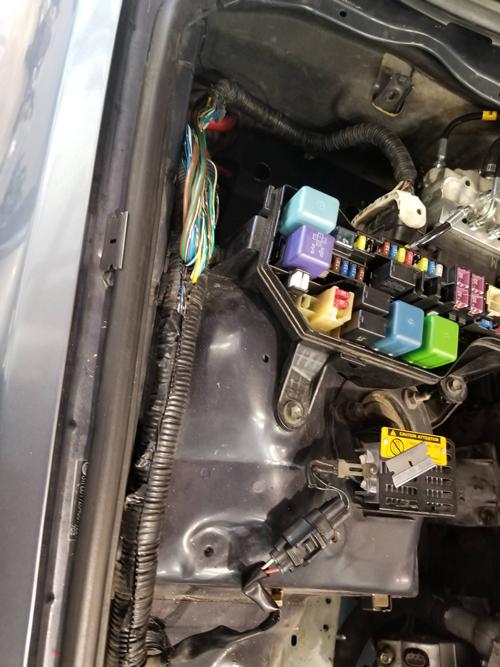
Step 7: Now you need to move your connector to the abs unit. Cut and remove wire shielding from ABS unit plug all the way back past the shock tower. Pull back all abs wires so they can reach towards the new unit location.
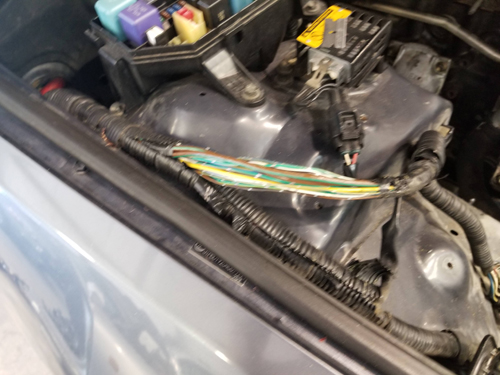
Step 8: Once wiring is pulled back you can reseal the shielding with electrical tape or similar method. We have included some split loom to cover the bare wire now exposed.
Step 9: You can now start filling brake fluid. Check for leaks before beginning bleeding procedure. Ensure all fittings are tight. You will need a friend with helping foot to pump the pedal while you work all four corners. Start furthest away in the back of car and work your way to the closest point to the master cylinder. Continue bleeding until no air come out. There is a bleed port on the abs unit itself. Give the pedal some firm stomps and ensure all fittings are dry. Once you confirm no leaks and good pedal feel you can reconnect your battery.
Note: In rare cases you may find that you will have to drive the car and activate ABS once to clear any trapped air bubble. Follow factory service manual on instruction regarding bleeding ABS
**SAFTEY WARNING: BEFORE YOU PUT THE CAR IN DRIVE MAKE SURE YOU HAVE FIRM PEDAL PRESSURE, APPLY FIRM PRESSURE TO PEDAL TO CONFIRM**